Welcome to Big Horn Mountain Creations and Quilting......Quilt Stylist

Welcome to Big Horn Mountain Creations, Quilting and Embroidery.
Custom quilts and embroidery, also longarm quilting service. No two quilts alike, made especially for you. Feel free to contact me if you want a special work of art for yourself.
Grab a cuppa and enjoy the quilts.
Showing posts with label Quilting. Show all posts

Thursday, October 10, 2019

50th Anniversary Quilt UPDATE

50th Anniversary Quilt 

UPDATE

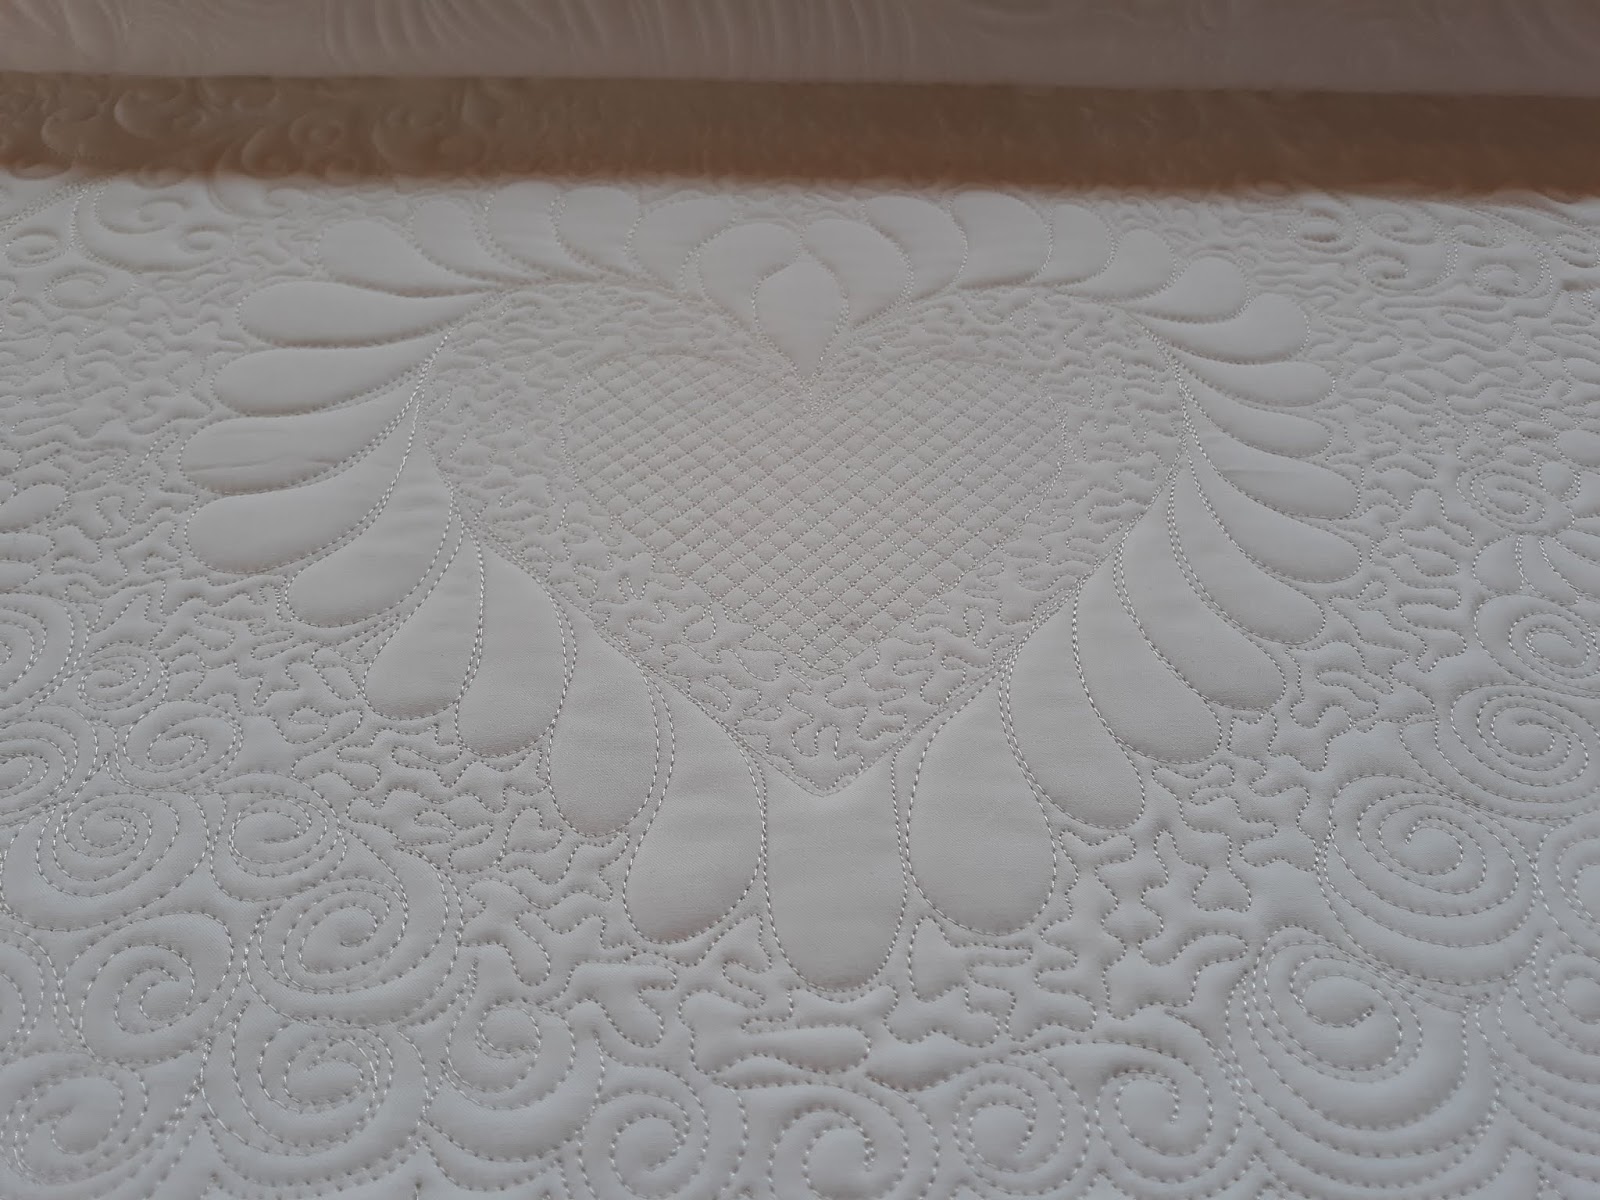
No need for a bunch of words, just quilting eye candy.

1/3 of the way done at this point.  Enjoy.


Testing out the gold accents.


Tuesday, January 08, 2019

Eight Pointed Star Quilted Pot Holders


Eight Pointed Star Quilted Pot Holders

My original idea for these stars was a quilt top.
But, I have changed my mind, 
a girls prerogative, right?

So I made a few pot holders, 
or is it a mug rug, or maybe 
a trivet.  So many personalities.

I will place these on my Etsy shop for sale.
I am keep one set for myself.


 I will keep this green and pink dot for myself.


Friday, December 28, 2018

Ribbon Quilt - Part 2


Ribbon Quilt

Part 2

Ribbons, ribbons, ribbons!

Really it has been enjoyable sewing 
the ribbons to their foundation.

Using clear thread and a zig zag on top
and white thread in the bobbin.  
(Did I already tell you that?)

I have averaged 20 blocks per day, which
includes cutting, and marking the foundation 
and then adding the ribbons.

Backing fabric is ordered, but it is nearly Christmas
(well the day of ordering was) so I do not 
have much hope for a fast delivery, at least if 
my experience this year with receiving and sending
packages is any indication.  Update; it is now the 28th and 
still no fabric, why am I not surprised.  Maybe tomorrow


Here are the 90 blocks needed for the top. 
I wish I could get the sparkle to show.


So while I await the purple fabric I got to work on a 
sham.  These ribbons are smaller  and I did not have enough
white or other colors to make it look good.
So we have red, white (a little trim) and blue.

It is all done but took a long time.  I wanted to miter the corners of the trim
and thank goodness for YouTube 
and 
those who are generous in sharing their expertise.
I would have never figured this out.  

                                                         FLANGE PILLOW VIDEO TUTORIAL


So here we are as we await the fabric for the 
sashing and border.

Sunday, December 02, 2018

Scraps, scraps and MORE SCRAPS

Scraps, scraps and MORE SCRAPS

My goal this year is to use my scraps.
This year began (for the purpose of using up scraps)
in mid September and will go thru 2019.
I am overwhelmed with the amount of scraps I have.  
15 years of making quilts produces a lot of those odd
pieces of fabric that are left over when the yardage is cut up into 
the pieces for blocks, sashes, borders, binding and backs.
I have made 5 tops so far and guess what,
I don't think I have made a dent, they just keep multiplying.
Sigh.

 I have sorted by size, well length, that took several days
Really it did, a girl can only sort for so long without getting 
bored to death.
 Once I had them sorted by size, I put them into zipper bags.
Then I sorted by color for certain designs like the log cabin
that bag has all green and white/cream for logs and
I was able to find reds for the center.
 I have something like 4 more bags like this to sort,
now you can understand why I believe this will take a year and a half
at least.
There are also drawers with scraps, one is full of precut squares and
such. 

Long strips waiting to be sewn.
 Half square triangles being made ready for a top

 Left overs from cutting triangles from newly created yardage.
I told you they just keep growing. 
That stack is now 3 times that size.  OY!
And I even threw some out....I know.....say it is not so.

One of dozens of newly created yardage from sewing strips together.
Some are  cut into strips, from 3 inches up to 6 inches wide,
some into triangles.  
 With the half square triangles I created the above top.

And from the 6 inches strips the top below.

More strips have been combine to make backs for these two tops,
I will show them later.

I finished up the log cabin top today so I have that to show you
as well.  For now I will sign off.


Have a blessed evening.  Time to go tuck the chickens in.


Sunday, October 07, 2018

Computer Carry Bag

Computer Carry Bag


I have been threatening to make a bag to carry our computers in while on trips, for a long time.

It took a while to find one I really liked, I shopped for a ready made bag.
Not really anything out there that suited my fancy.
Then I came upon a class on Craftsy.com 
by Annie Unrein  called
and really liked how she constructed her bags so I explored her
website  @  Byannie.com  www.byannie.com  
and found just what I was looking for.  

Executive Carryalls 2.0
Annie carries all the supplies to make her bags except your fabric of choice.

Below is my bag.


Here are some details and the pattern is full of nice 
details including zippers, pockets, no raw seams and more.

A nice large zippered pocket on the inside, 
a sleeve in the bottom to put in something to stabilize the bottom
of the bag, we choose a piece of plywood (of course 
what else would we use with a wood shop). 

Another pocket on the other side, nice for all kinds of
accessories.  See the finished seams.

Nicely padded on the carry strap.  Three layers thick.

Handles, strong with webbing inside.
Double zipper closure.

Adjustable carry strap and really nice hardware.

Back pocket, as well as a strap for looping over a suit case handle.

Two front pockets, one with a zipper.

The bag stands up on it's own because of the liner 
Annie suggests using, called Soft and Stable.
Great stuff and easy to work with.


I decided after the bag was constructed to add our monogram.
I should have done that before construction, to thick to hoop.
So instead I made a patch using left over pieces (which were not many)


Here is the completed bag.

This is not a fast project, but a well thought out pattern
that I am very happy with.

Thank you Annie  @ byannie.com for a great pattern
and quality supplies.